Managing an Opportunity's Contacts
Each opportunity can have several contacts, and their order matters: the first person on an opportunity's contact list is the first to receive your outreach attempts. This article covers how to reorder, edit, and add contacts for an opportunity.
Reordering contacts
It's best to set your contact order before outreach starts, because that order decides who receives your attempts first.
Before outreach: while personalizing
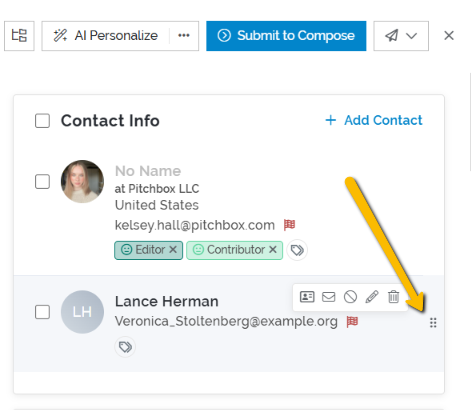
While you're personalizing your opportunities, you can sort, add, and rearrange contacts. Drag and drop them into whatever order you like.
After outreach has started
You can still reorder contacts once outreach has begun:
- Open the Opportunity Details page for the opportunity.
- Find the list of contacts on the right side of the screen.
- Drag and drop the contacts into your desired order.
Editing or renaming a contact
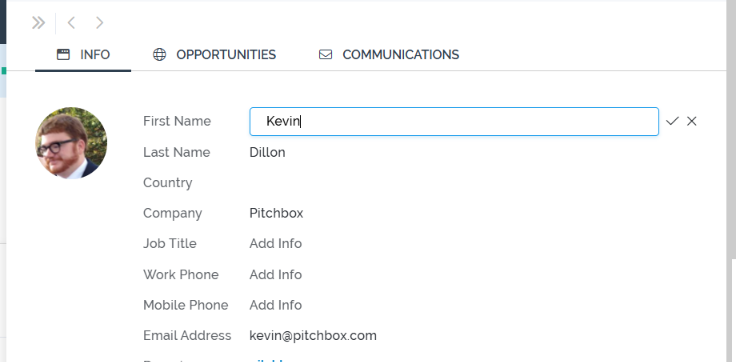
You can edit a contact's details, including their name, from either the Address Book, workflow or the contact's Opportunity Details page.
From the Address Book
- Open the Address Book, which is in the CRM.
- Use the filters in the top-left of the page, or the search bar, to find the contact.
- Select the contact. A drawer opens where you can edit their details.
From the Opportunity Details page
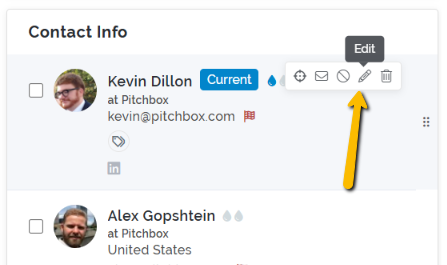
Under the Contact Info section, click the pencil icon next to the contact you want to edit.
Adding a contact
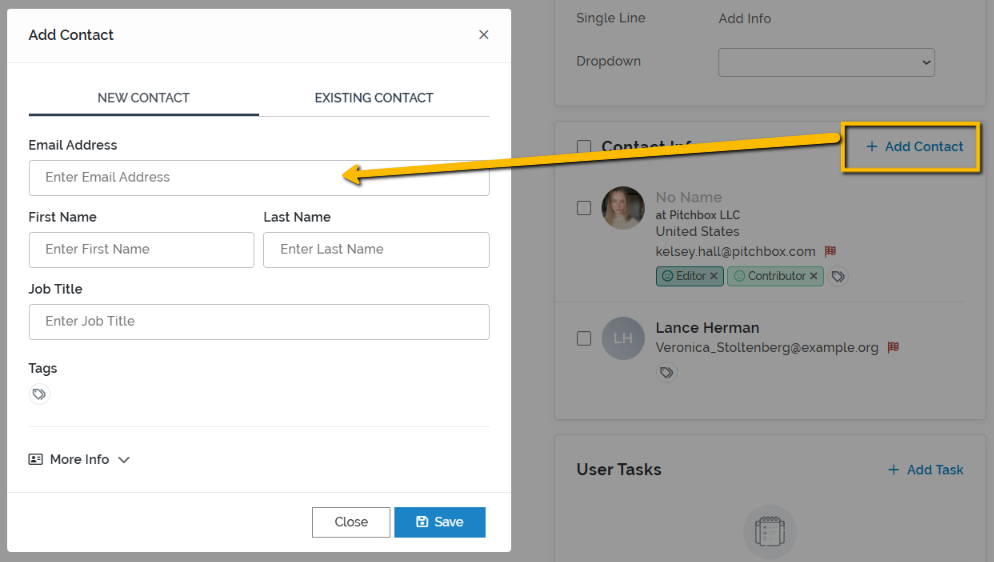
While personalizing, you can add contacts at the same time as you set their order. To add a contact to an opportunity that has already left the workflow:
- Open the Opportunity Details page for that opportunity.
- Find the list of contacts on the right side of the screen.
- Click Add Contact and follow the steps shown.
You can add either a new contact or an existing one.